
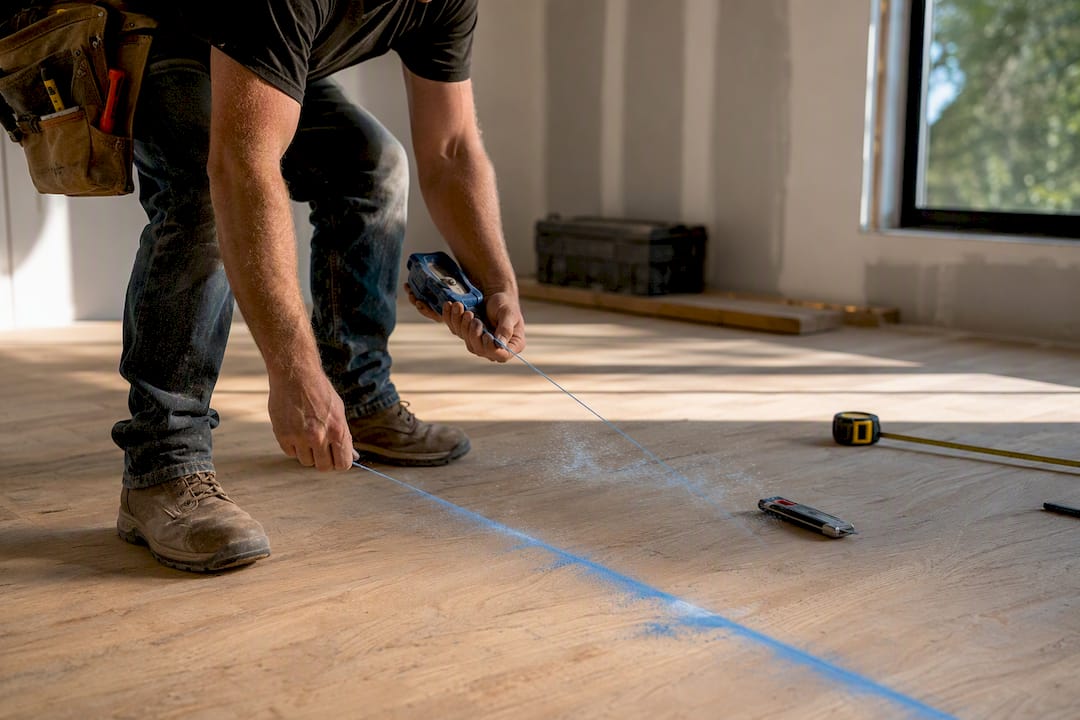
A snapped chalk line gives you an independent, dead-straight reference that doesn’t care whether your walls do. That matters because interior walls are frequently bowed, tapered, or out of square, and a first row aligned to a crooked wall drags that error across every board behind it. Snap the line before you touch a single plank, check it against a straightedge or laser, and you protect the whole floor from one bad decision made on day one.
Key Takeaways
A snapped chalk line creates an independent, verifiable reference that prevents first-row errors from compounding across an entire hardwood floor.
| Point | Details |
|---|---|
| Walls aren’t reliable references | Bowed or out-of-square walls make an independent chalk line more trustworthy than the wall itself. |
| Tension determines accuracy | A taut string that vibrates like a guitar string produces a straight mark; slack causes waviness. |
| The first three rows set the tone | Lock rows one through three with clamps or face-nails before snapping additional transfer lines. |
| Chalk and laser work together | Use a laser to verify endpoints, then snap a chalk line to leave a permanent physical reference. |
| Source materials that support precise layout | Quality Hardwoods of Michigan, Inc supplies hardwood, finishes, and layout accessories for installers and homeowners planning accurate, professional-grade floors. |
Table of Contents
- Why Straight Hardwood Layout Starts Before the First Board
- Placing the Master Line and Why the First Three Rows Matter
- Chalk Lines vs Laser Levels: Complementary Strengths
- How to Snap a Chalk Line for Hardwood Flooring
- Checking Walls and Working Around Out-of-Square Rooms
- Layout Tools That Make the Difference
- Common Mistakes That Ruin a Straight Layout
- Installer-Tested Best Practices That Keep Layouts Straight
- Why We Emphasize Chalk Lines on Every Job
- Get the Right Materials and Tools for Your Next Layout
- Sources
- FAQ
Why Straight Hardwood Layout Starts Before the First Board
Hardwood layout is decided before anyone picks up a nail gun. The first row sets the angle for every row after it, and a fraction-of-an-inch error at board one turns into a visible wedge by the far wall. This is why snapping chalk lines establishes an independent, perfectly straight reference point that’s often more trustworthy than the framing behind your drywall.
Walls lie. Not maliciously, but reliably. Framing settles, drywall gets mudded unevenly, and older homes especially tend to have walls that bow inward or splay a half inch over a 12 foot run. If you square your first row to the wall instead of a true line, that bow transfers straight into your plank layout.
Watch for these before you snap anything:
- A visible gap between a straightedge held against the wall and the wall itself
- Baseboard that wanders noticeably away from a door frame or corner
- Old patch or repair lines in the drywall near the floor, which often mean settling
- Uneven shadow lines under raking light across the subfloor
Picture the finished floor as a series of parallel sightlines running toward a window or a hallway. Any deviation shows up first exactly there, where the eye naturally travels.
Pro Tip: Measure from your intended master line to the wall at three or four points along its length. If the distances vary by more than a sliver, you’ve found your bow or taper, and you know to trust the line, not the wall.
An out-of-plumb wall rarely announces itself until the floor is down and the gap at the baseboard is staring back at you. Catching it during layout costs five minutes. Catching it after installation costs a re-rip of your last row.
Placing the Master Line and Why the First Three Rows Matter
Your master line isn’t just “a straight line somewhere in the room.” It’s a calculated decision that determines how wide your first row is, how wide your last row will be, and whether either one looks like an afterthought. This is where the rule of three comes in: balance the first, middle, and last rows so no single row ends up looking like a mistake, particularly a sliver of a final row jammed against the far wall.
Before you snap:
- Measure the room’s width and divide by your plank width to see how many full rows fit.
- Calculate the leftover space, and split it between the first and last row instead of dumping it all on one side.
- Add your expansion gap requirement into that math before you commit to a starter-board position.
- Confirm the adjusted starter line still leaves the first row wide enough to nail or glue securely.
Sightlines matter here too. Long plank runs and natural light make small errors far more visible, so check your planned layout from the room’s main entry point, from a window run, and from wherever people will actually stand or sit most. A slight drift that’s invisible from the kitchen doorway might be glaringly obvious from the couch.
Once you’ve snapped the master line and laid the first row, lock it down before moving on:
- Confirm square at both ends using a carpenter’s square against the line
- Recheck the gap at both walls, not just one
- Face-nail or clamp the first two rows temporarily so nothing shifts while you snap subsequent lines
Pro Tip: Don’t fasten permanently past row three until you’ve verified the whole run with a straightedge. Rows one through three are your foundation. Everything after them just follows the pattern you’ve already set, for better or worse.
Chalk Lines vs Laser Levels: Complementary Strengths
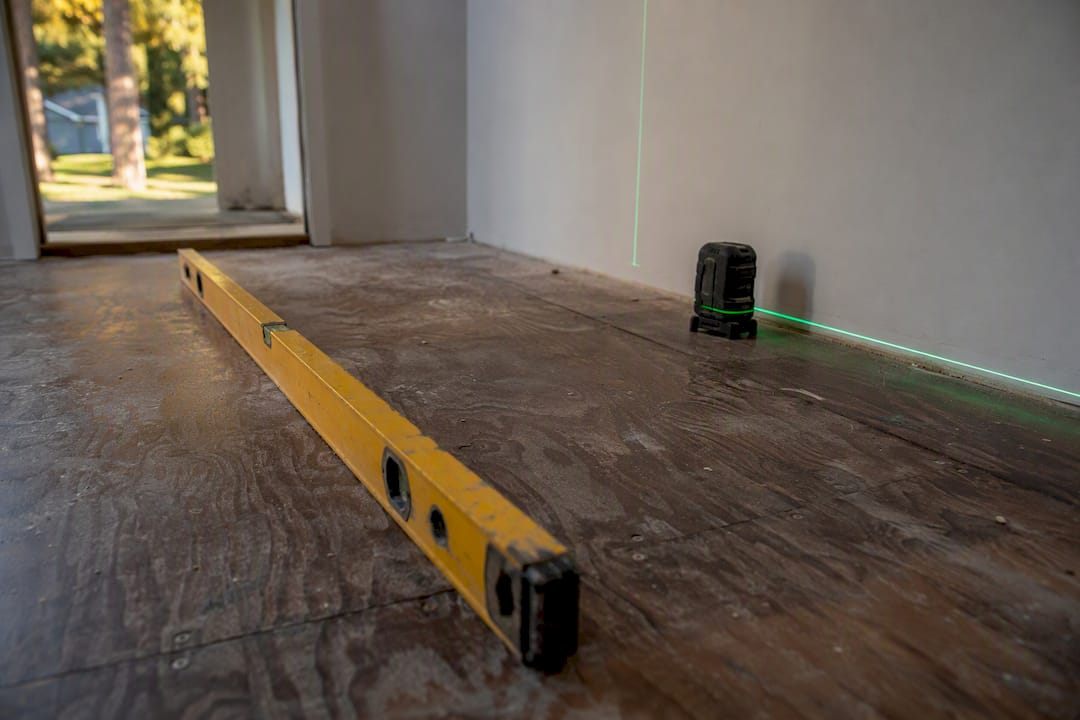
Chalk lines and laser levels solve different problems, and pretending one replaces the other is how installers end up with a floor that looks fine on the level but wrong to the naked eye. A laser gives you a live, visual reference you can check from anywhere in the room. A chalk line gives you a permanent, physical mark on the subfloor that stays put after the laser gets packed up and moved to the next job.
| Attribute | Chalk line | Self-chalking line | Laser level |
|---|---|---|---|
| Accuracy | High, if tension and endpoints are correct | High, similar mechanism to standard chalk box | High for short to medium distances |
| Permanence | Mark stays visible on subfloor until covered | Same as standard chalk line | No physical mark left behind |
| Ease/speed of setup | Fast for long straight runs | Fast, minimal loading required | Fast for quick spot checks |
| Best use case | Long runs, permanent reference across trades | Same jobs, cleaner refill process | Verifying endpoints, quick square checks |
Experts treat these tools as complementary rather than competing: a laser confirms your endpoints are true, and the chalk line preserves that truth as a physical mark you can still see three hours and two coffee breaks later. Use the laser to verify. Use the chalk to commit.
Pro Tip: Set your laser first to confirm your two endpoints are square to the room, then snap the chalk line between them. You get the laser’s precision and the chalk’s staying power in one pass.
How to Snap a Chalk Line for Hardwood Flooring
Getting a clean, accurate snap isn’t complicated, but skipping a step is how installers end up re-measuring an entire room. Follow this sequence for every master line and every subsequent transfer line:
- Measure both endpoints of your intended line, accounting for the expansion gap against the wall.
- Mark each endpoint clearly with a pencil dot, not a guess.
- Hook the chalk box string on one endpoint, or have a second person hold it steady.
- Walk the line taut to the opposite endpoint and hold it against your second mark.
- Lift the string straight up about 2 to 3 inches and let it snap down in one motion.
- Check the resulting line for clarity. If it’s faint or doubled, re-snap it.
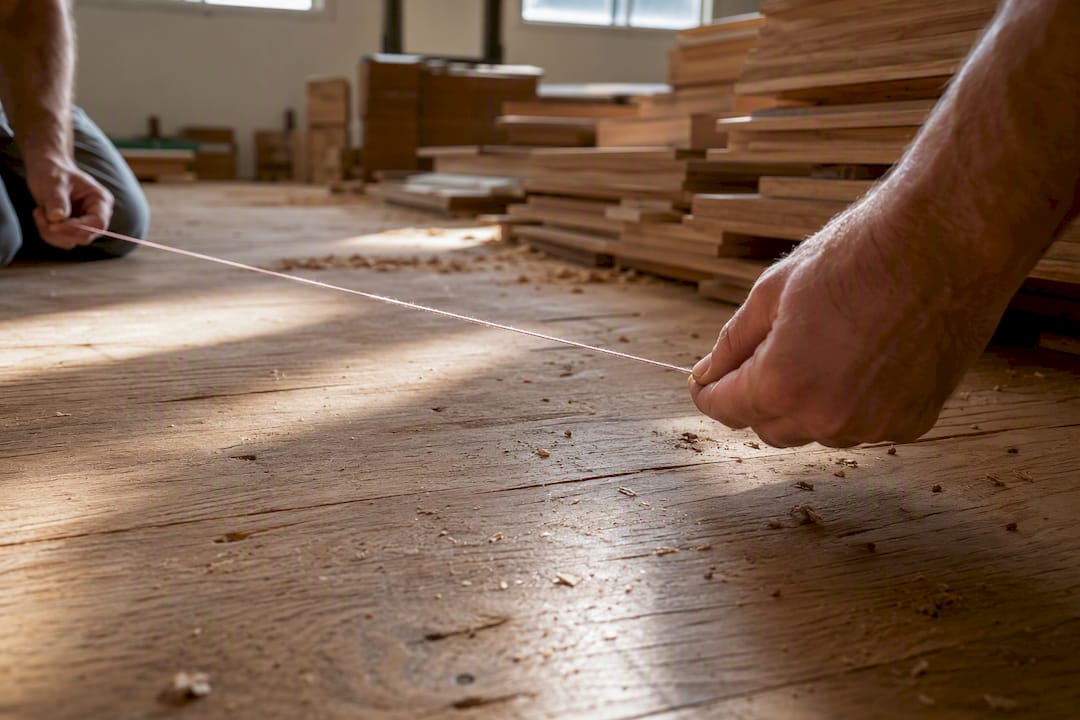
The single biggest factor in accuracy is tension. The string needs enough pull that it vibrates like a guitar string when plucked; any slack introduces a wavy line that throws off everything measured from it. Lift height matters too: keep it to roughly 2 to 3 inches, since lifting higher risks lateral drift and a thicker, less precise mark.
For rooms with uneven or patched subfloors, don’t try to snap one continuous 20 foot line. Break long snaps into shorter segments and hold the string down at intermediate points to avoid the double marks that come from the string bouncing off a high spot. This same segmented approach lets you build a full grid across a large room, which is how multiple installers can work independently on different sections and still tie their work together accurately.
A few practical notes before you fasten anything:
- Measure to the edge of adjoining panels or plywood sheets when possible; it makes hooking the string easier
- Keep the chalk box away from moisture and grit, which clog the string and cause skips
- Sweep dust off the subfloor before snapping so the chalk grips a clean surface
Verify every line against a laser or a known-true straightedge before you drive a single fastener. That final check takes two minutes and saves an afternoon.
Checking Walls and Working Around Out-of-Square Rooms
No room is perfectly square, and pretending otherwise is how installers end up with a last row that tapers from an inch wide to nothing. The fix isn’t fighting the wall. It’s measuring it honestly and adjusting your plan before the first row goes down.
- Measure from your snapped master line to the wall at both ends and at the midpoint.
- Compare the three measurements. A difference greater than a small fraction of an inch signals the wall is out of square.
- Decide whether to shift the entire starter line to split that discrepancy evenly, rather than let one end absorb all of it.
- Recalculate your last-row width using the adjusted starter position.
Balancing the first and last row keeps either one from looking like an accident. A few field-tested approaches:
- Plan your rip cuts for the last row before installation day, not as a last-minute scramble
- Stagger end joints across rows near tapering walls so the eye doesn’t catch a repeating pattern
- Preserve your expansion gap with spacers consistently, even where the wall pulls away or closes in
- Accept a slight reveal behind quarter-round or shoe molding rather than distorting the whole layout to chase a perfectly tight last row
Trim covers more sins than people expect. A quarter inch of variation hidden behind molding is invisible. A quarter inch of variation visible in an exposed doorway threshold is not.
Layout Tools That Make the Difference
The right tools don’t replace good technique, but they make consistent technique a lot easier to repeat all day. Every layout kit should include a standard chalk box or a self-chalking line, a laser level for quick verification, a long straightedge for spot-checking, spacers for the expansion gap, and a carpenter’s square for confirming true corners.
A few maintenance habits keep these tools performing the way they’re supposed to:
- Fill the chalk box only about half full and shake it to distribute chalk evenly, since overfilling is one of the most common causes of jams and smeared lines
- Replace worn string before it frays, since a fraying string throws chalk unevenly
- Choose a darker chalk color for permanent subfloor marks and a lighter one when you need a mark to disappear later
Homeowners tackling a single room can get by with a basic plastic chalk box. Pros running multiple jobs a week are better off with a heavy-duty metal box and a self-chalking line, since the refill process is faster and the housing holds up to daily drops off a ladder.
Pro Tip: Keep a second, dedicated chalk box loaded with a contrasting color strictly for temporary transfer marks, so you never confuse a permanent reference line with a throwaway one.
Common Mistakes That Ruin a Straight Layout
Most layout problems trace back to one of a handful of avoidable habits.
- Trusting the wall as your reference instead of an independently measured line
- Snapping with a slack string, which produces a wavy, unreliable mark
- Skipping endpoint verification with a laser or straightedge before committing
- Overfilling the chalk box, leading to jams and smeared lines
- Ignoring the expansion gap while chasing a “perfect” fit against an uneven wall
If a snapped line looks fuzzy or doubled, re-snap it rather than working around it. A broken string mid-snap almost always means it’s time to replace it, not patch it together for one more use.
Pro Tip: When in doubt, re-check the distance from your line to the wall in three spots. If all three agree, trust the line. If they don’t, trust the math, not your eye.
Installer-Tested Best Practices That Keep Layouts Straight
Pros who install hardwood every week tend to follow the same short workflow: measure, snap, verify, fasten the starter row, then re-verify as the job progresses instead of assuming the first check holds for the whole room.
- Lock the first two rows before snapping additional lines
- Verify every snap with a straightedge or laser, no exceptions
- Break long snaps into shorter segments on uneven subfloors
- Recheck line accuracy periodically as work moves across a large room
Pro Tip: Calibrate your chalk line against a trusted straightedge at the start of every job, not just when something looks off. A few seconds of habit beats an afternoon of correction.
Why We Emphasize Chalk Lines on Every Job
We train installers to snap a chalk line before the first board goes down on every single job, no exceptions, because expensive hardwood gets ruined by poor layout far more often than by poor material. No sanding or finish hides a crooked first row. The payoff for that discipline shows up later: fewer callbacks, cleaner transitions between rooms, and materials that hold their value because the layout underneath them was right from the start.
Get the Right Materials and Tools for Your Next Layout
Getting your layout right depends on starting with square, consistent material, which is where the flooring you choose matters as much as the chalk line you snap. Quality Hardwoods of Michigan, Inc stocks unfinished and prefinished hardwood alongside the stains, finishes, and accessories installers need to carry a project from layout to final coat, all without forcing you into a long-term supply contract or a limited in-house catalog.

If your next project is new construction, our hardwood flooring for new construction page covers the product options and project support available for builders and contractors working on tight schedules. Homeowners and installers alike can also visit our showroom for hands-on help choosing plank width, grade, and finish before committing to a layout plan. If you’d rather hand the whole installation off to a professional, we’re glad to point you toward local installers instead of leaving you to figure it out alone. Either way, start by requesting a quote on the materials for your next room.
Sources
- Chalk-box layout guidance (Dusty Robotics)
- How to use a chalk line (Family Handyman)
- Have you snapped a chalk line for your tile layout? (Ceramic Tile Foundation)
FAQ
What Is the Rule of 3 in Flooring?
The rule of three means balancing the width of the first, middle, and last rows so no single row ends up too narrow or awkward looking, particularly the final row against the far wall.
Does It Matter Which Direction You Lay Hardwood Flooring?
Yes. Direction affects both sightlines and structural support, and most installers run boards parallel to the longest wall or perpendicular to floor joists for stability, though the room’s main sightline often takes priority for appearance.
How Do You Chalk a Line for Flooring?
Measure and mark both endpoints accounting for your expansion gap, hook the string at one end, pull it taut until it vibrates, then lift it 2 to 3 inches and snap it down in one motion.
Should Hardwood Floors Be Laid Lengthwise or Widthwise?
Most installers run planks lengthwise along the room’s longest dimension or main sightline, since this tends to make the space look larger and shows fewer seams from the primary viewing angle.
Why Should I Use a Chalk Line Instead of Just Measuring From the Wall?
Walls are often bowed or out of square, so measuring from one directly transfers that inaccuracy into your layout; a snapped chalk line gives you an independent, verifiable straight reference instead. Quality Hardwoods of Michigan, Inc recommends this approach for every installation, professional or DIY.
Recommended
- Pattern Flooring Layouts: Examples for Homeowners & Designers — Quality Hardwoods of Michigan
- How to Choose the Best Hardwood Flooring for Your Home | Quality Hardwoods of Michigan
- Why Subfloor Preparation Matters for Flooring Quality — Quality Hardwoods of Michigan
- Flooring Articles & Expert Guides | Quality Hardwoods MI